The Water Tank Cleaning Process — How It Actually Works
Step by step through a professional clean, from the first drain valve to the photo that lands on your WhatsApp.
Most people have never watched a tank being cleaned properly, which is exactly why bad cleaners get away with charging for it. Here is the full sequence, in order, with the reason each step exists.
1. Isolate and drain
The inlet is closed and the tank is drained through the outlet, not tipped out. Where the water is still usable we route it to a bucket line or a garden connection instead of wasting it. The last few inches are left in — that layer holds the sludge and is easier to extract wet than dry.
2. Vacuum extraction
An industrial wet vacuum lifts the settled layer out through the manhole: silt, sand, rust flakes, dead insects and whatever else has been quietly accumulating. This is the step that cheap cleaners skip, because a scoop and a bucket look similar from the ground and cost nothing.
If a cleaner never removes sludge as sludge — if it all goes down your outlet pipe — it has not left your building. It has gone into your plumbing.
3. High-pressure jet wash
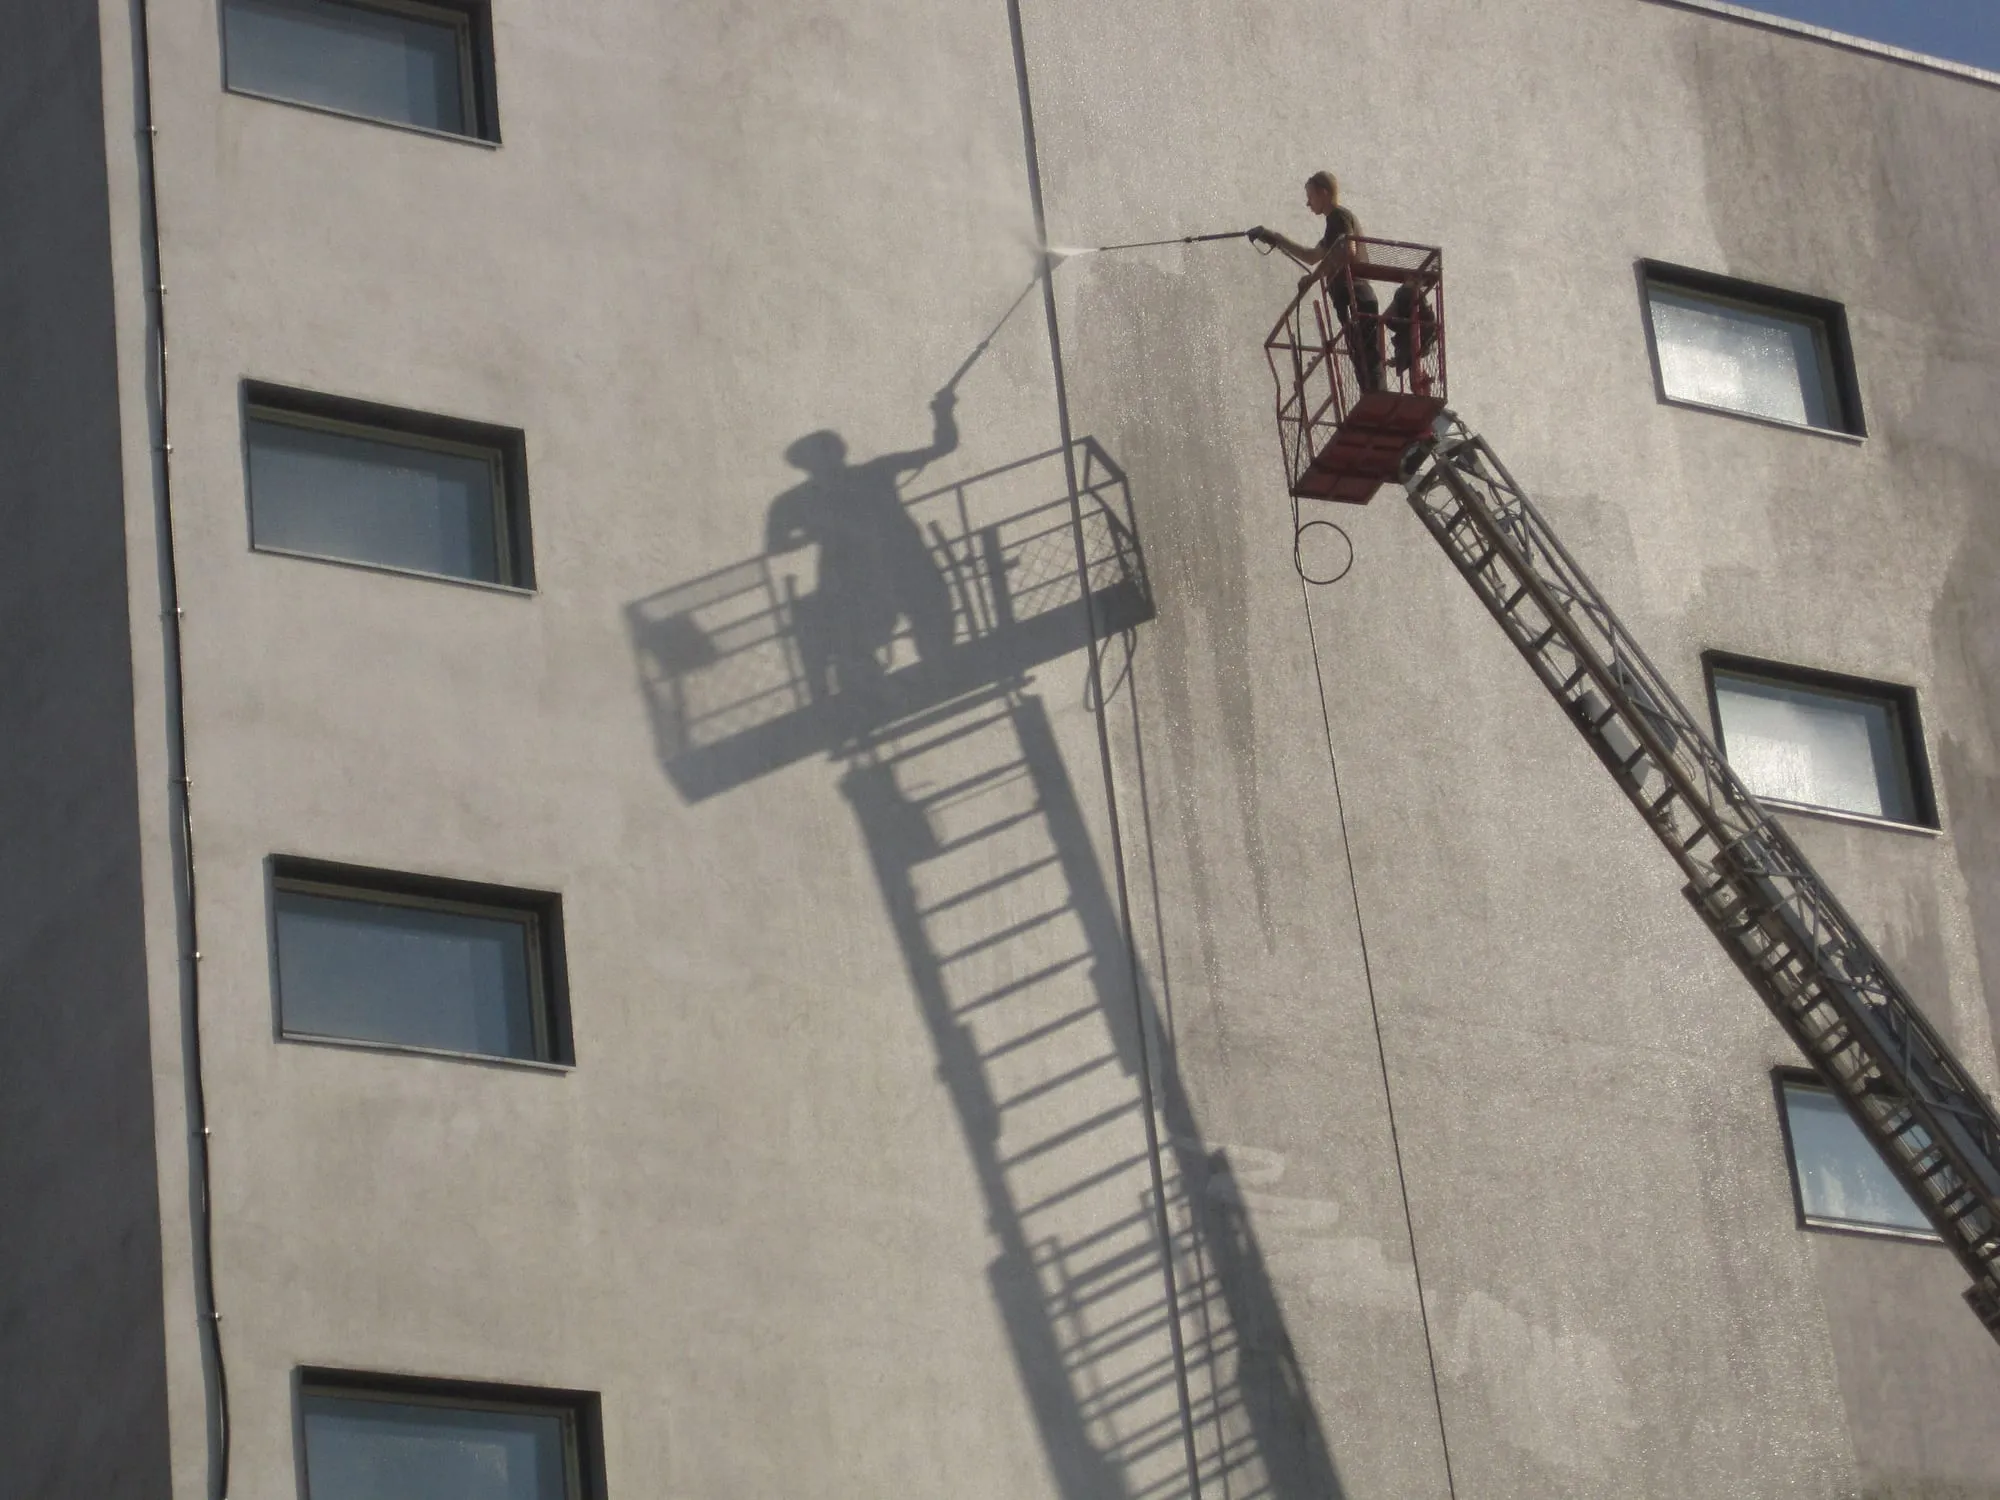
A 1500 PSI jet is worked across the walls, corners, base, baffles and the underside of the lid. Pressure is what breaks biofilm — the slippery bacterial layer that a brush smears rather than removes. Corners and the outlet mouth get the most attention because that is where biofilm survives partial cleans.
4. Mechanised scrub where jets cannot reach
RCC and stone tanks have porous surfaces that hold deposits inside the texture. Those get a mechanised brush pass after jetting. Smooth Sintex and PVC tanks usually do not need it.
5. Anti-bacterial disinfection
A food-grade disinfectant approved for drinking-water systems is applied to every internal surface and allowed the contact time it actually needs — this is not a spray-and-go step. Dose is calculated from the tank volume, not estimated.
6. Chlorination and, on premium jobs, UV
Measured chlorination gives residual protection in the refilled tank. On premium and institutional jobs we add a UV sterilisation pass, which is useful where the water sits for long periods.
7. Rinse, refill and handover
Final rinse, lid checked and reseated (a missing or cracked lid is the number one reason tanks get dirty fast), inlet reopened. Water is safe to use within about an hour of refill. Before-and-after photographs go to you on WhatsApp before the crew leaves.
How long the whole thing takes
| Tank | Time on site |
|---|---|
| 500 L overhead | 45–60 minutes |
| 1,000 L overhead | ~90 minutes |
| 2,000 L overhead | ~2 hours |
| Kothi sump | 2–4 hours |
| Society UGR | 3–6 hours |
What you should see at handover
- A clean, dry-looking base with no residual silt line
- Walls without slime, streaks or green tint
- A lid that closes fully and sits flush
- Photos taken from inside the tank, before and after
- No worker who has been inside your drinking-water tank
Frequently Asked Questions
- Does anyone climb inside the tank?
- Not in our process. Vacuum extraction and jetting are done through the manhole from outside. It is safer for the crew and more hygienic for your water.
- How soon can we drink the water?
- About an hour after refill. The disinfectants used are approved for drinking-water systems.
Keep Reading
How to Clean an Overhead Water Tank — Step by Step
The full method for a rooftop Sintex, PVC or RCC tank — what a professional does, and what you can safely do yourself.
3 min read
How to Clean an Underground Sump Safely
Sump cleaning is the one job on this site we will actively tell you not to attempt yourself. Here is why, and how it is done properly.
3 min read
The Equipment Used in Professional Water Tank Cleaning
Vacuum units, jetting lances, dosing kit and UV — what each machine does, and how to tell if the crew at your door actually has it.
3 min read